;rgba(153,153,153,0.1);rgba(153,153,153,0.5)" dur="2s" repeatCount="indefinite" /></rect></svg>)
top tip – joining bias strips
Mrs Bowden’s top tip – joining bias strips

Hong Kong finishing using bias strips
You may find you would like to make your own bias binding to finish the edges of your seams (Hong Kong finishing) or to add a decorative effect to armholes, collars, pocket edges etc.
There are plenty of lovely commercial bias bindings available but being able to use your own means you can co-ordinate your fabrics exactly to your tastes. Last week I posted a tip about grainlines and explained where the true bias lies on the fabric – at 45° to the selvedge (warp threads). This allows the greatest stretch and return – brilliant for manoeuvring around curved edges such as armholes. However, if you are making your own bias and need plenty of it – maybe you are binding the hem of a very full skirt – you are going to have to join the bias strips in a way which maintains the bias grainline. Here’s how….

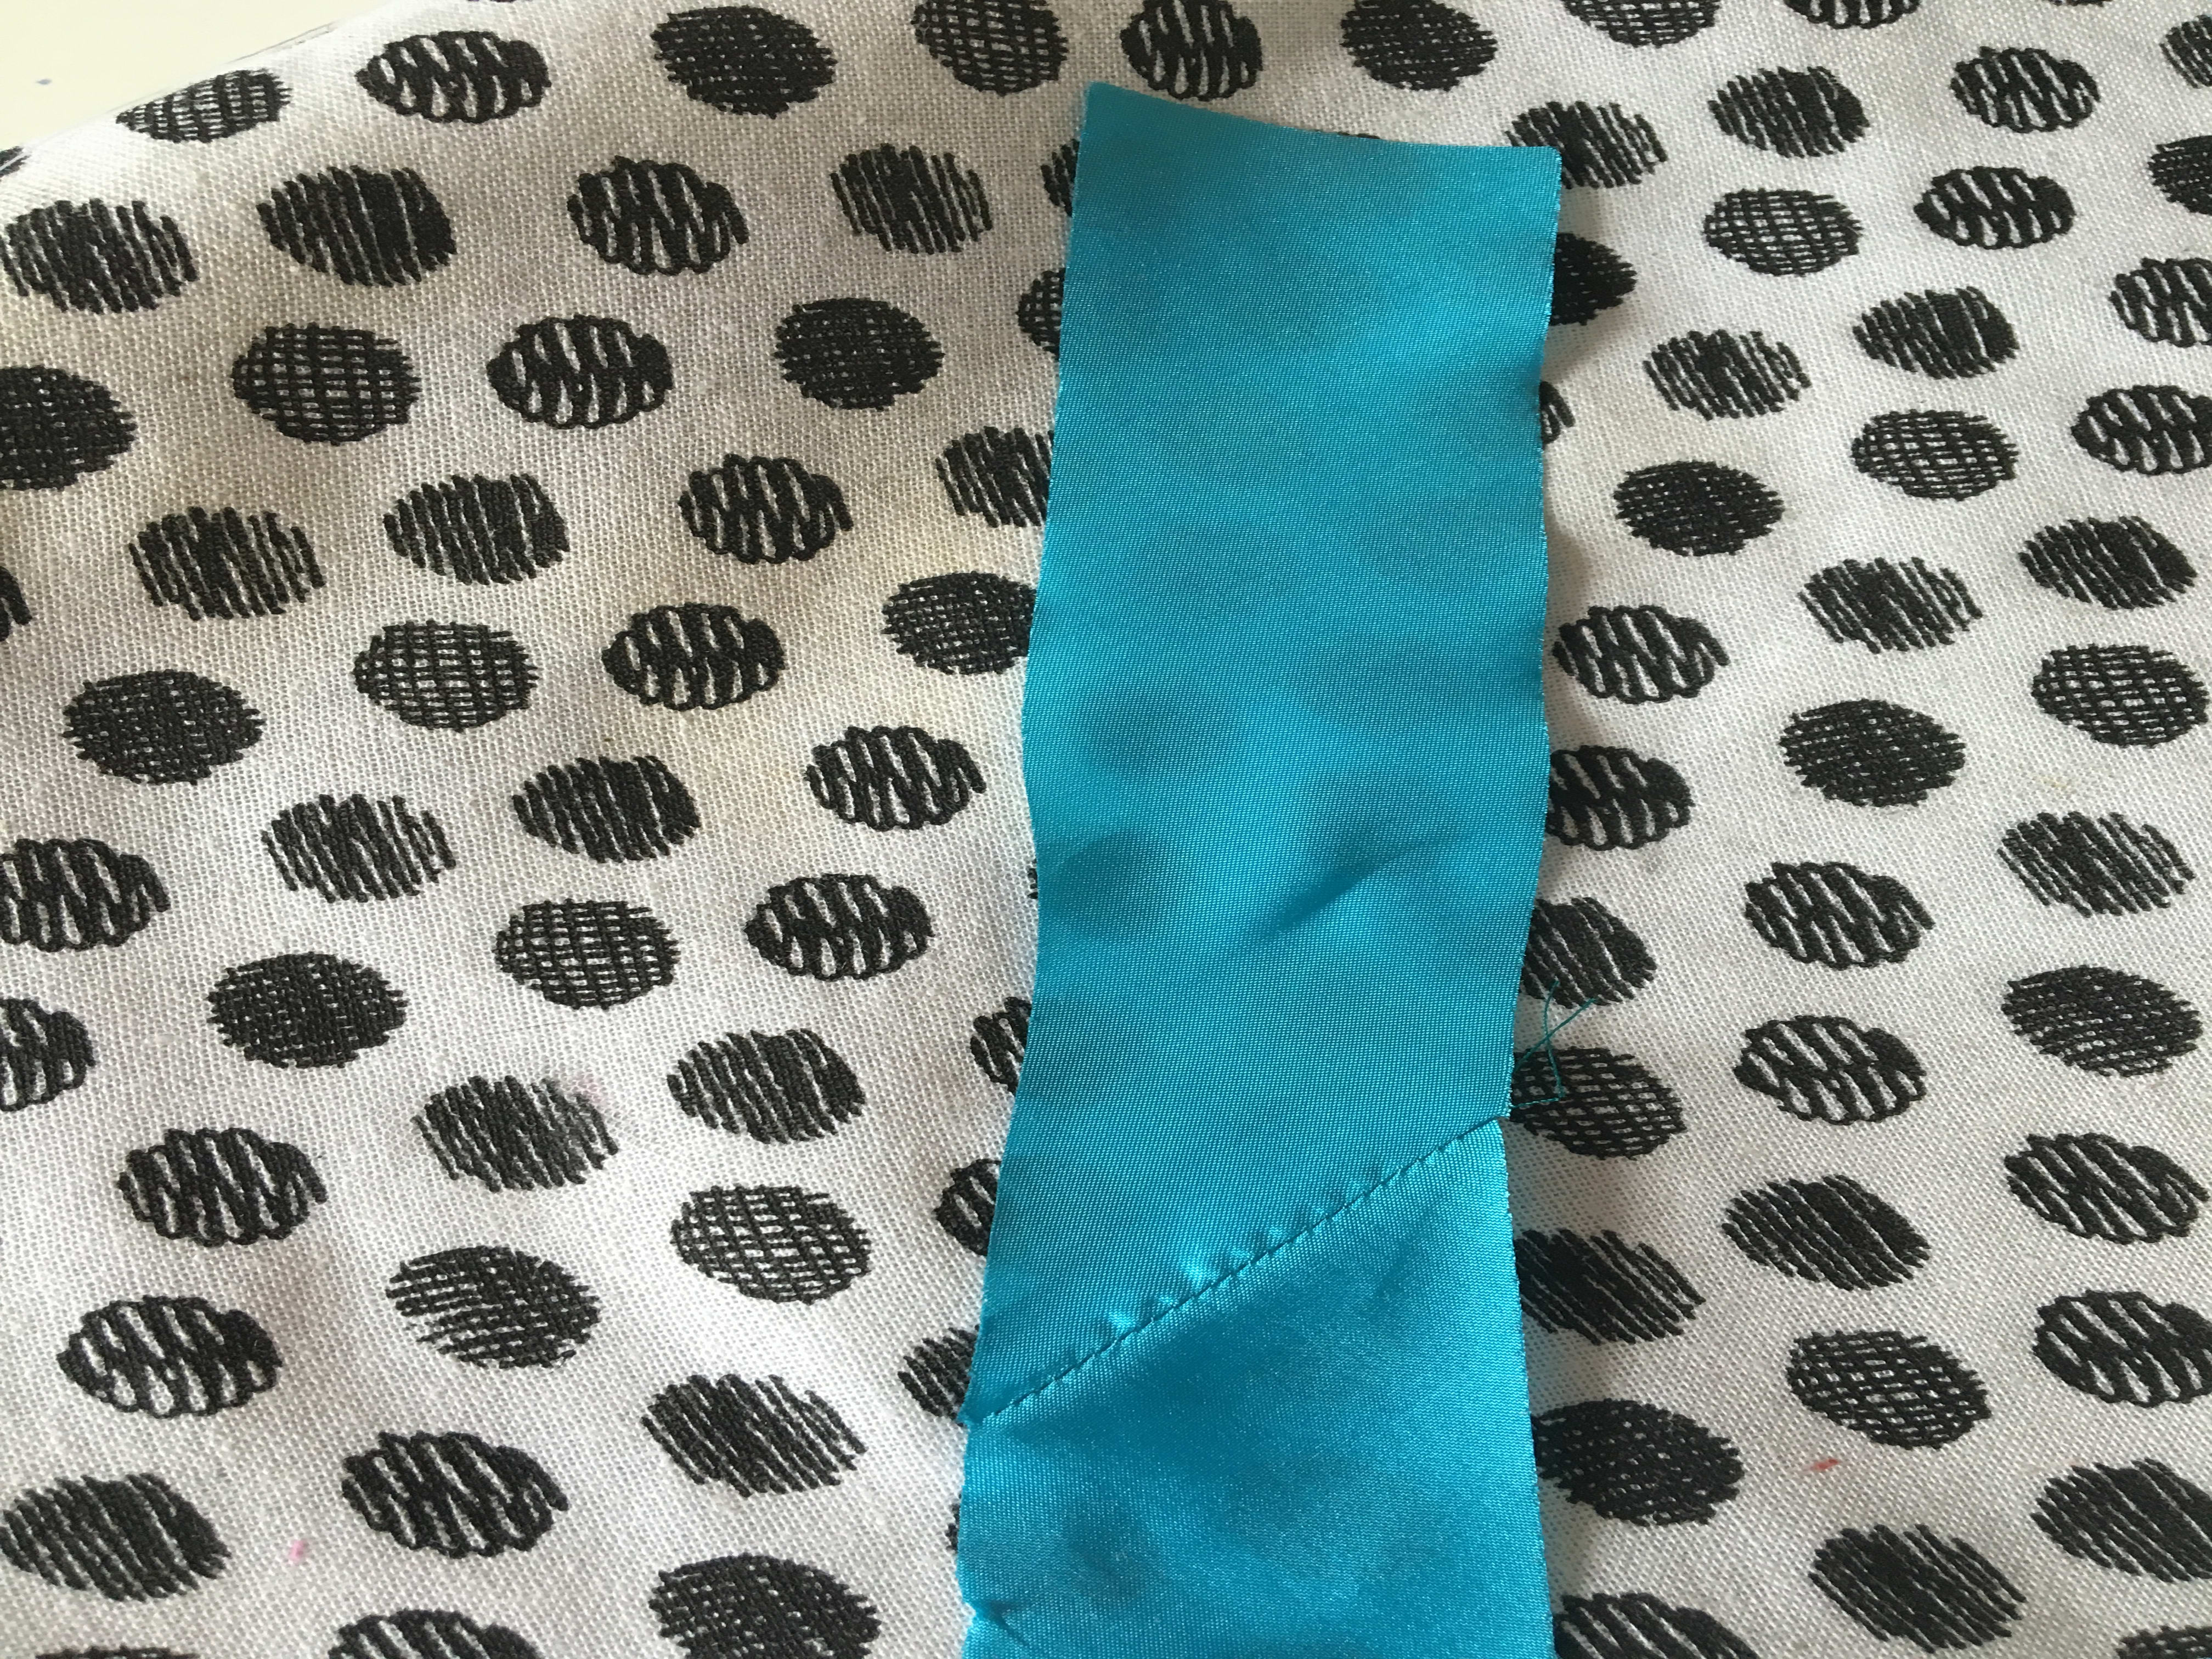
Straight edge of 4 cm bias strips
I have cut a number of strips of bias lining 1 ¾” wide/4 cm. I find this a very convenient width as it gives a 1 cm finished bound edge and is an easy size to work with. You may have cut from the selvedge edge in which case your need to trim the ends of the bias strips to produce a right angled edge.
Establish the right side and wrong side of your fabric.

right sides together
Lay the strips with RST to form a corner.

Use a ruler to create a diagonal line for stitching.
Use a soft pencil, water soluble fabric pen or tailor’s chalk to mark the stitching line.

Trimmed
Grab the ends of your threads to stop the machine chasing at the start of the stitching line and sew. There is no need to backstitch at the start and end. Trim the ‘ears‘ and press the seam open so you have a continuous length of bias to use.

Press the seam open
Continuous strip of bias
In stitches,
Amanda x