;rgba(153,153,153,0.1);rgba(153,153,153,0.5)" dur="2s" repeatCount="indefinite" /></rect></svg>)
Top tip – using embroidery transfers
Mrs Bowden’s top tip – using embroidery transfers

Mint Coronation transfers from 1953
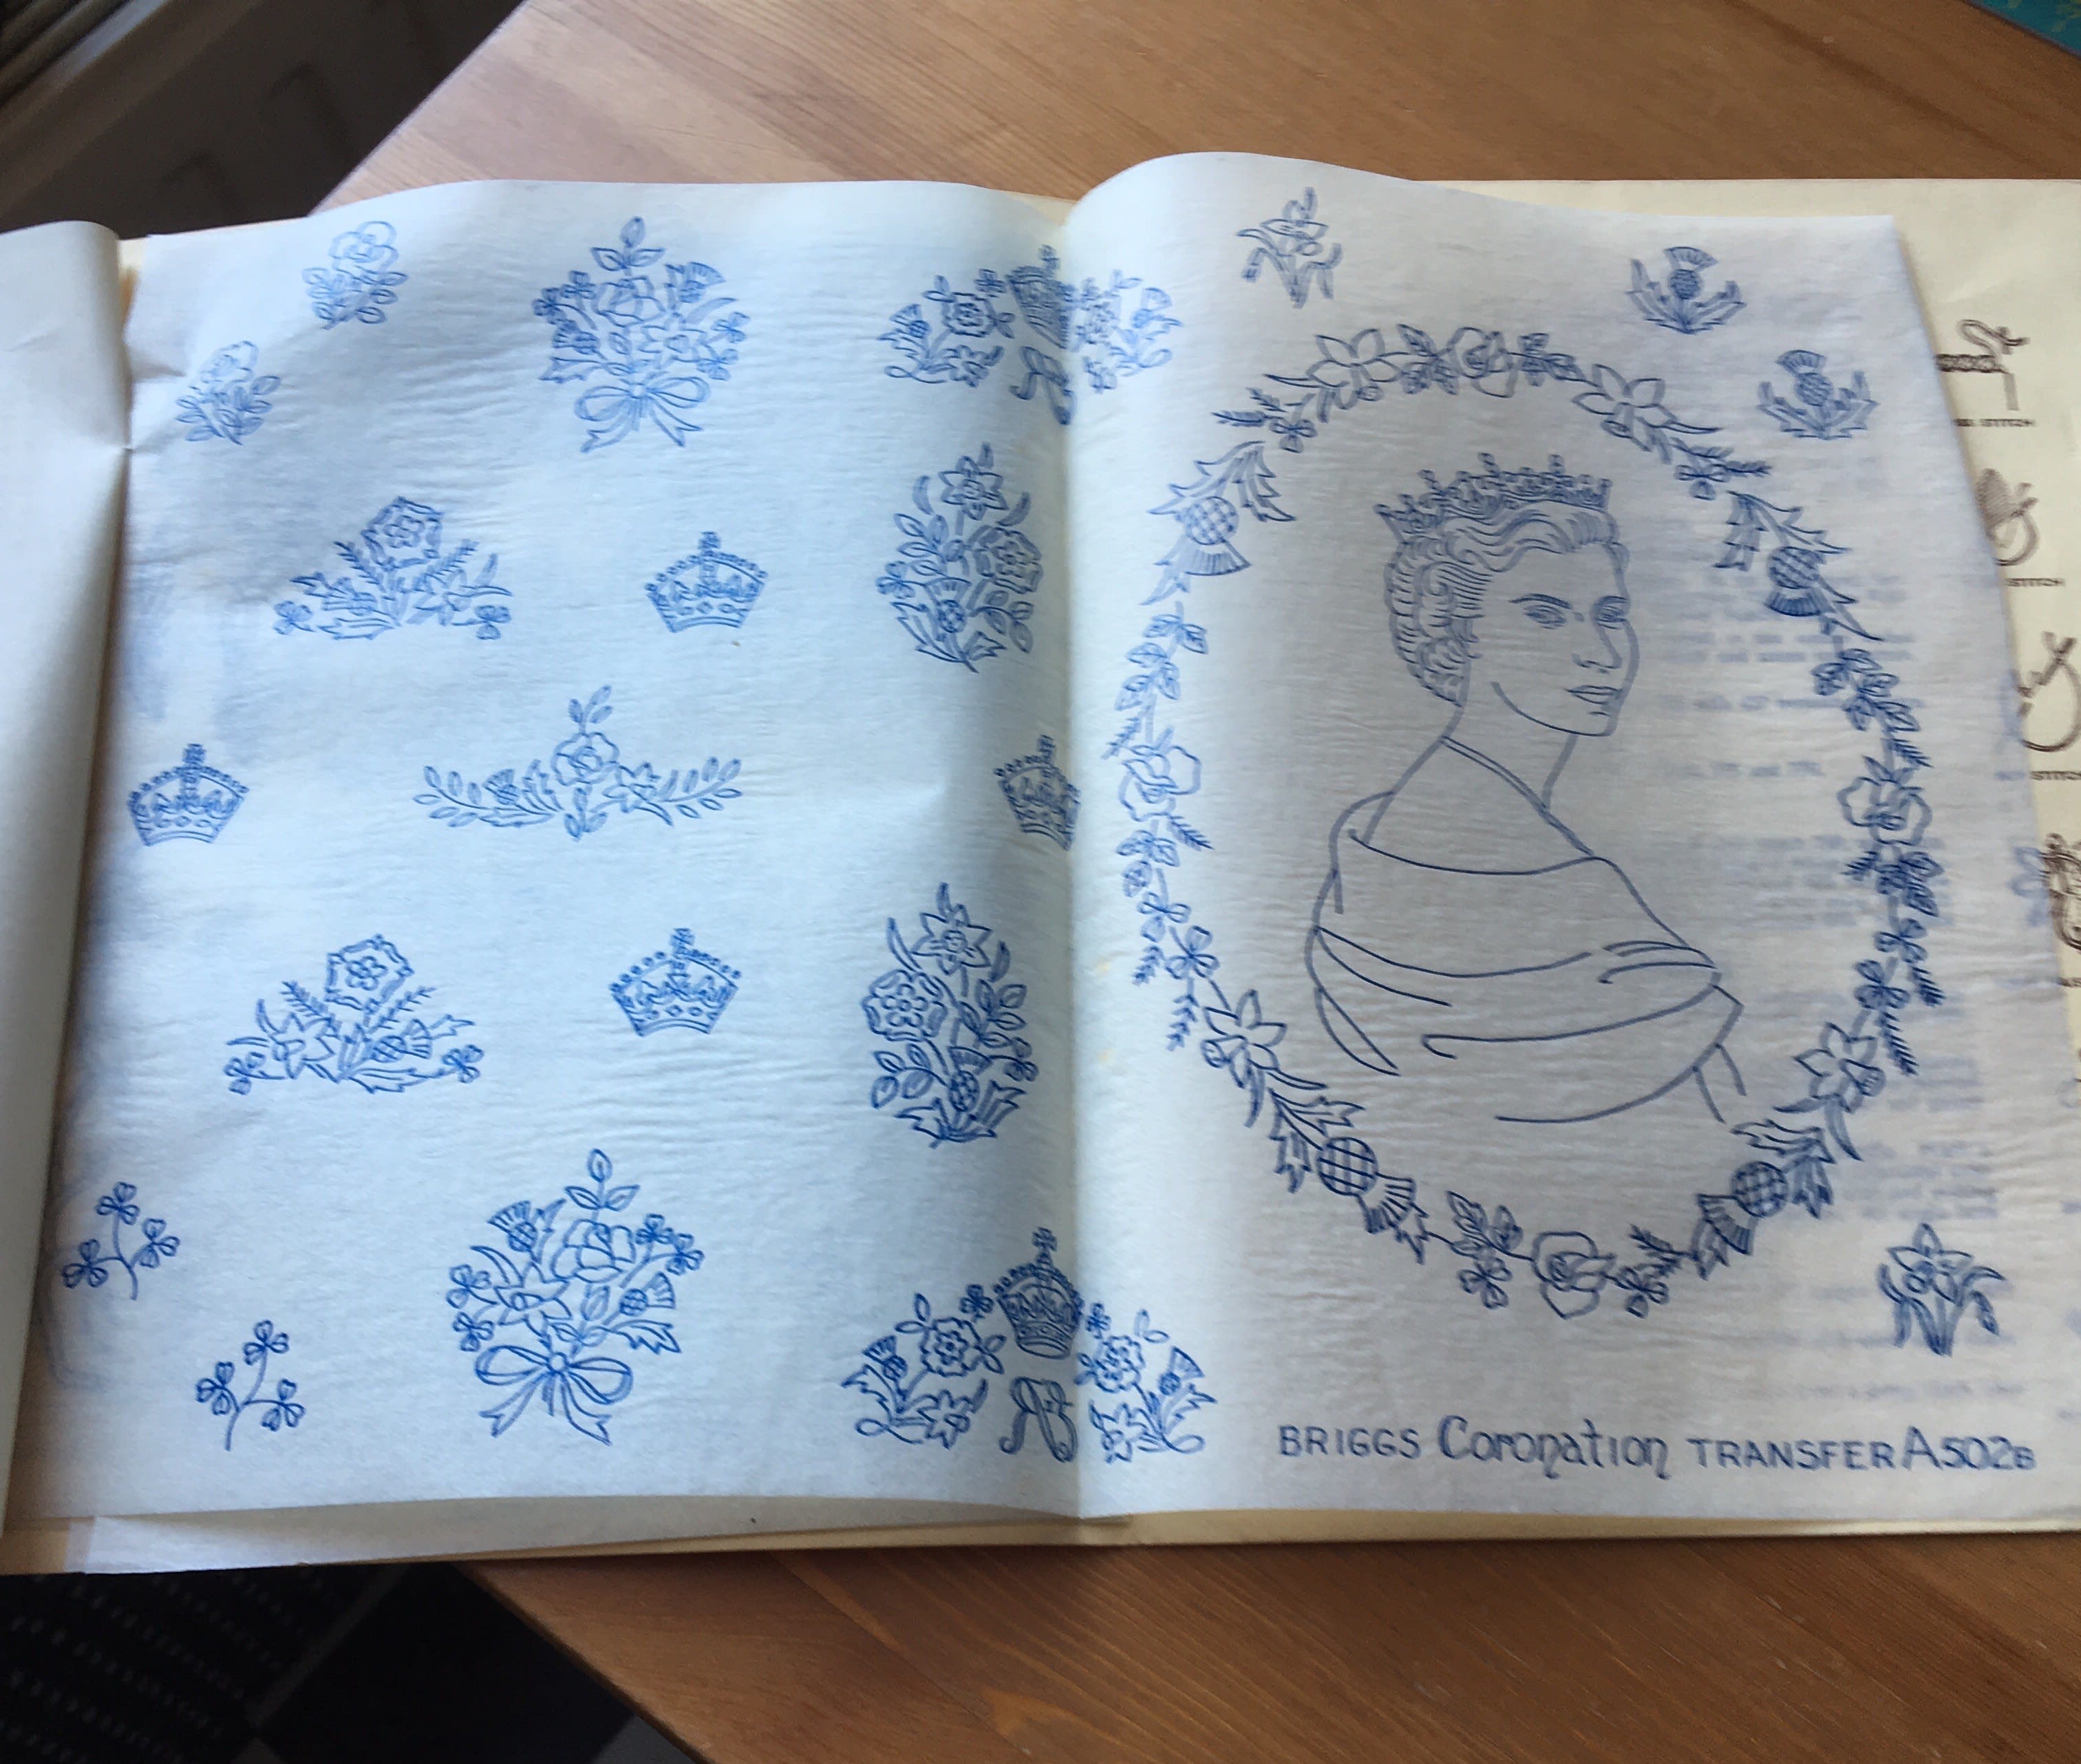
HRH waiting to be embroidered!
I really enjoy collecting sewing memorabilia and clothes from the 1940s and 1950s and have built up a considerable collection of vintage embroidery transfers. Hand embroidering a motif can add such interest to your clothes and other things you make. There is a whole host of design both vintage and contemporary (check out www.sublimestitching.com) available to use. Here you can see a sublime stitching hummingbird I’m presently stitching.

Hummingbird design by sublimestitching

Irish shamrock
I was reminded that it is St Patrick’s Day as I was flicking through my 1953 set of mint embroidery transfers published in preparation of HRH Queen’s Coronation in 1953. As you can see the Shamrock is featured in many of the motifs and I thought it might be helpful for me to explain how to use them.

Fabric pressed and right side of transfer
Prepare your fabric by pressing it to remove any creases and wrinkles. Look carefully to ascertain the right side and wrong side of the transfer. The right side will have a slightly raised surface where the ink is thicker and more pronounced.
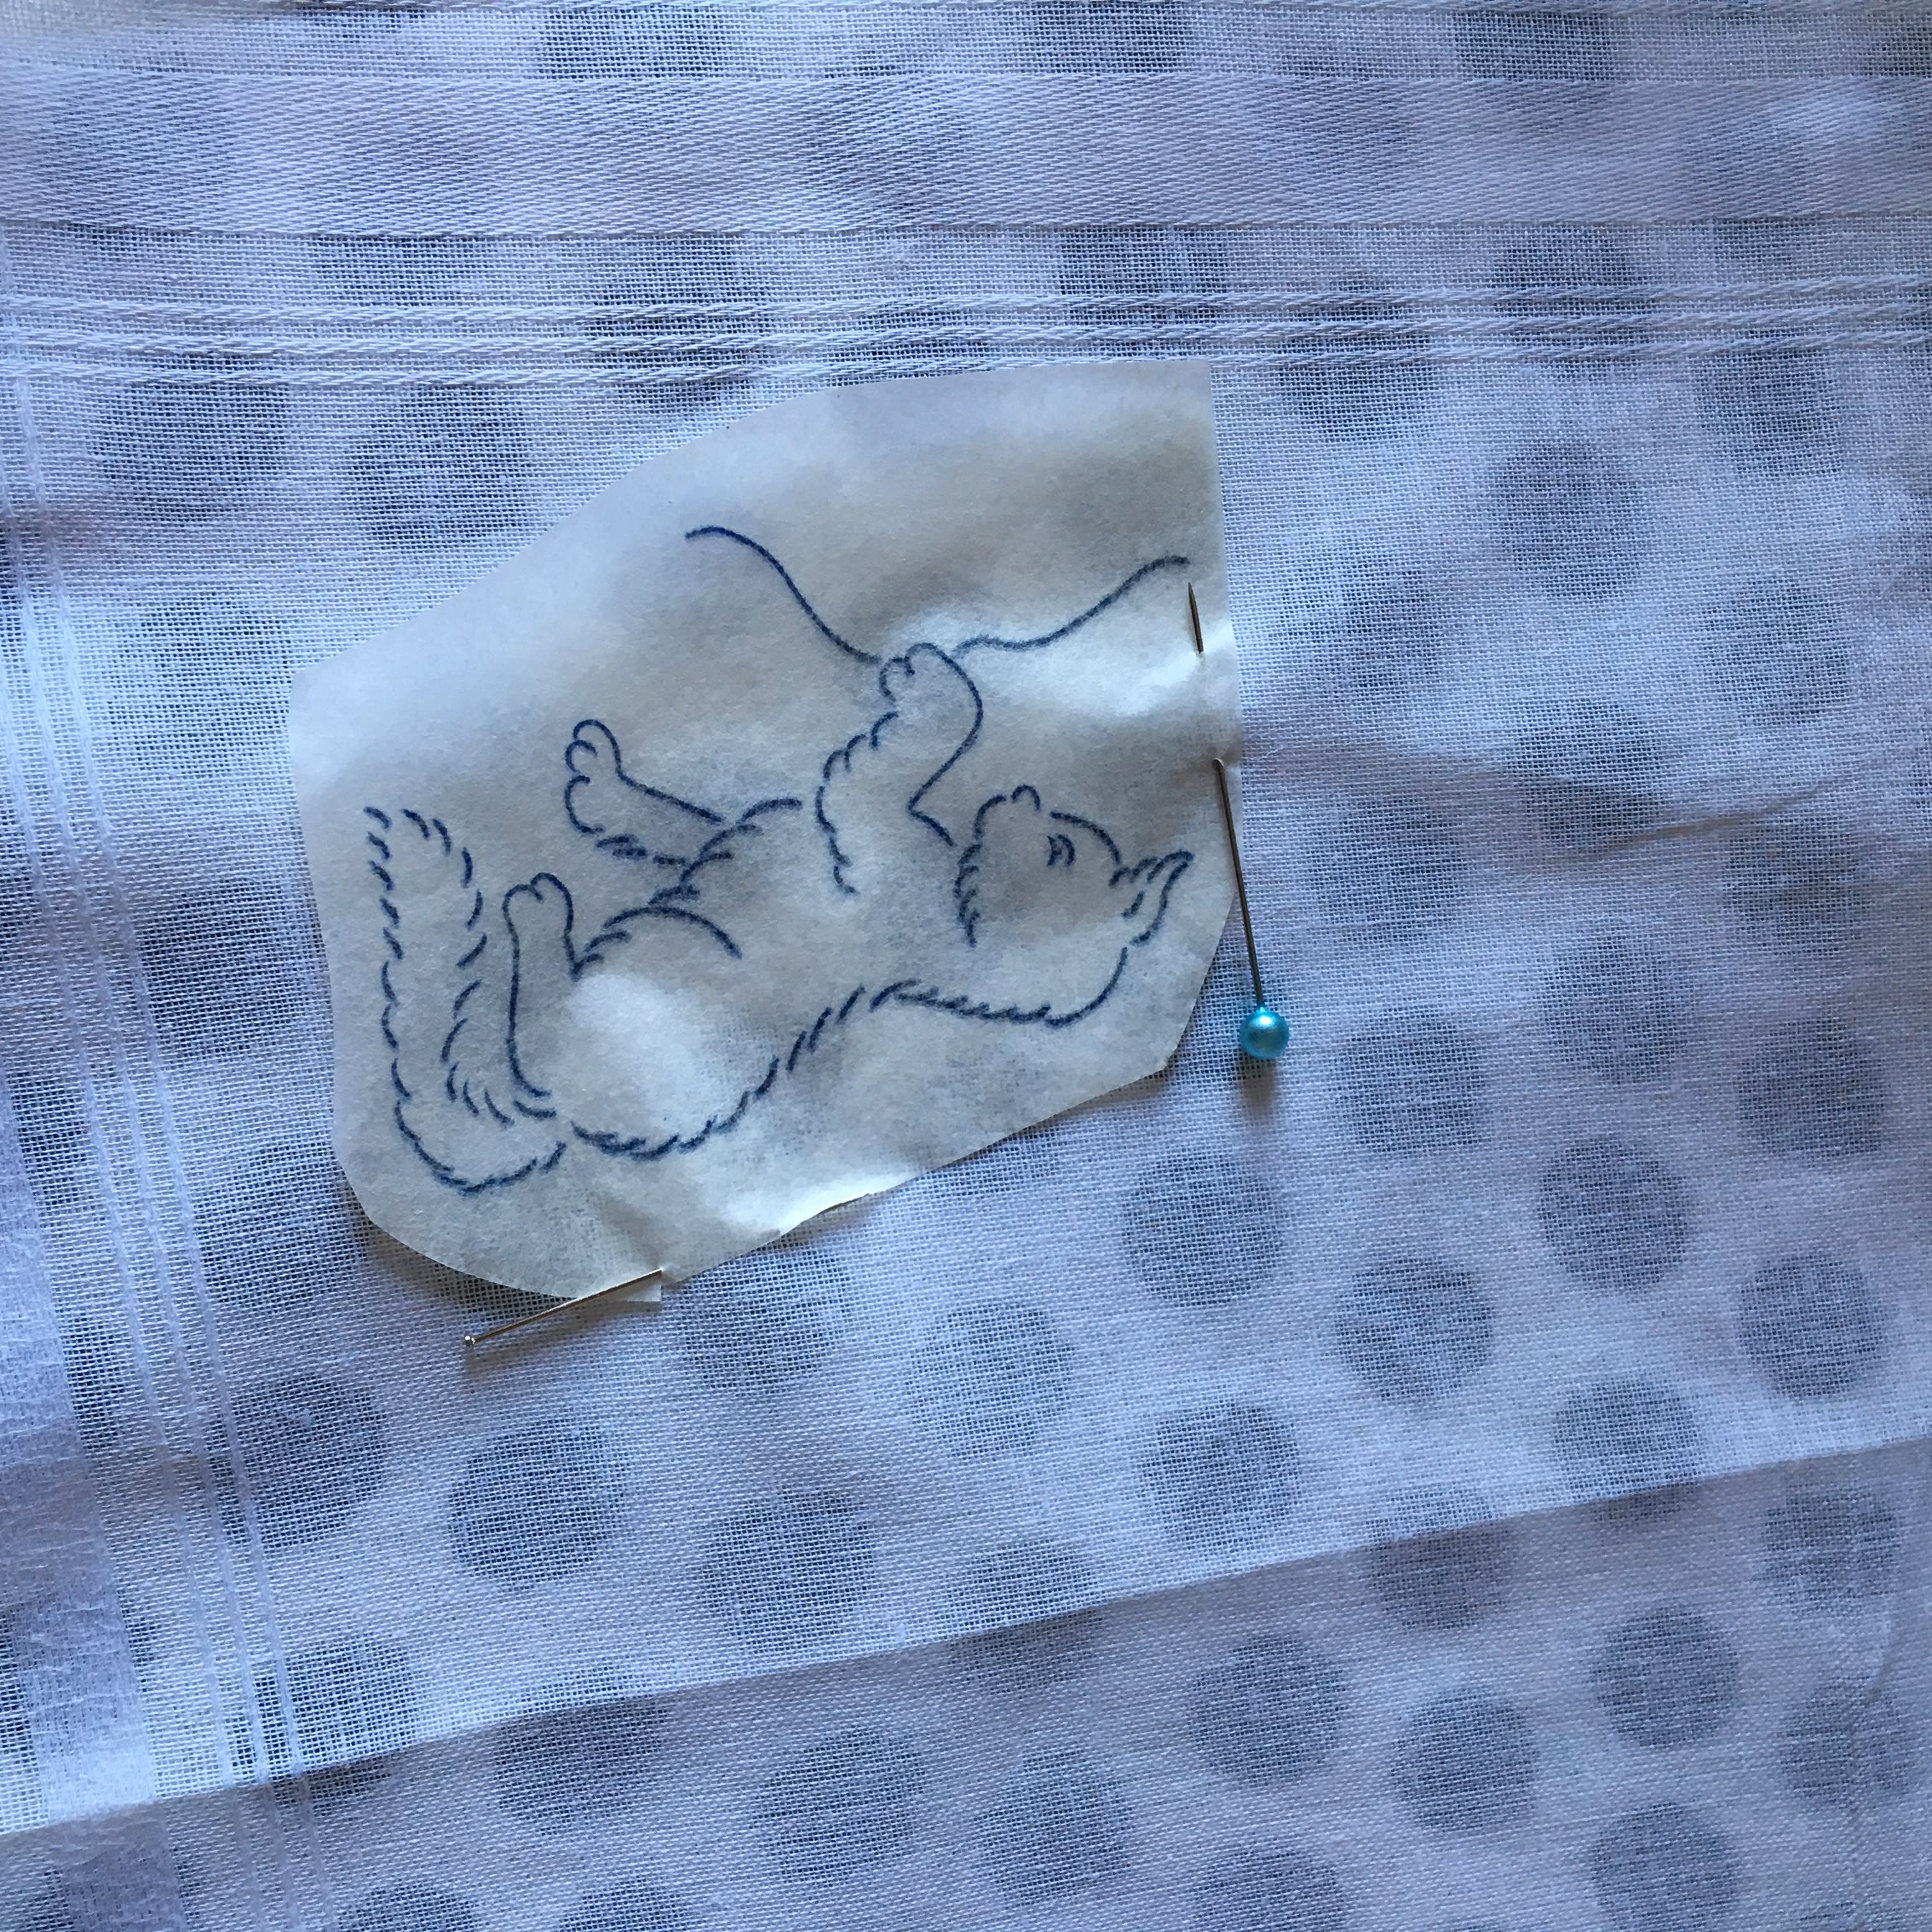
Pinned into position
Place the right side of the transfer onto the right side of the fabric. Pin into position as close to the edge of the paper as possible – this will prevent the transfer slipping as your iron which could cause a blurred image. I use a travel iron as it has a much smaller end.

Hold for 10 seconds
Set the iron to medium hot and place on the transfer – using gentle circular movements to cover the surface of the transfer. Count to 10 elephants and remove the iron.

check transfer
Carefully peel the edge of the transfer to see if pattern has been transferred. If ‘yes’ remove the paper. If ‘no’ repeat for a further 10 elephants. The timing for how long to iron it for depends on the age of the transfer and if it has been used before.

transferred and ready to be embroidered
Next week I’ll show you a few tips for using embroidery hoops.
In stitches, Amanda xx